As the summer heat gradually gives way to the crisp and cozy embrace of autumn, it’s time to transition your style and embrace the beauty of the season with captivating fall nail designs. The leaves are changing, and so is your opportunity to express yourself through your fingertips. From deep and earthy hues that mirror the vibrant foliage to intricate nail art accessories that add a touch of glamour, this year’s fall nail trends are all about celebrating the essence of fall in the most creative and stylish way.
Top Fall Nail Colors and Combinations

1. Deep and Earthy Hues
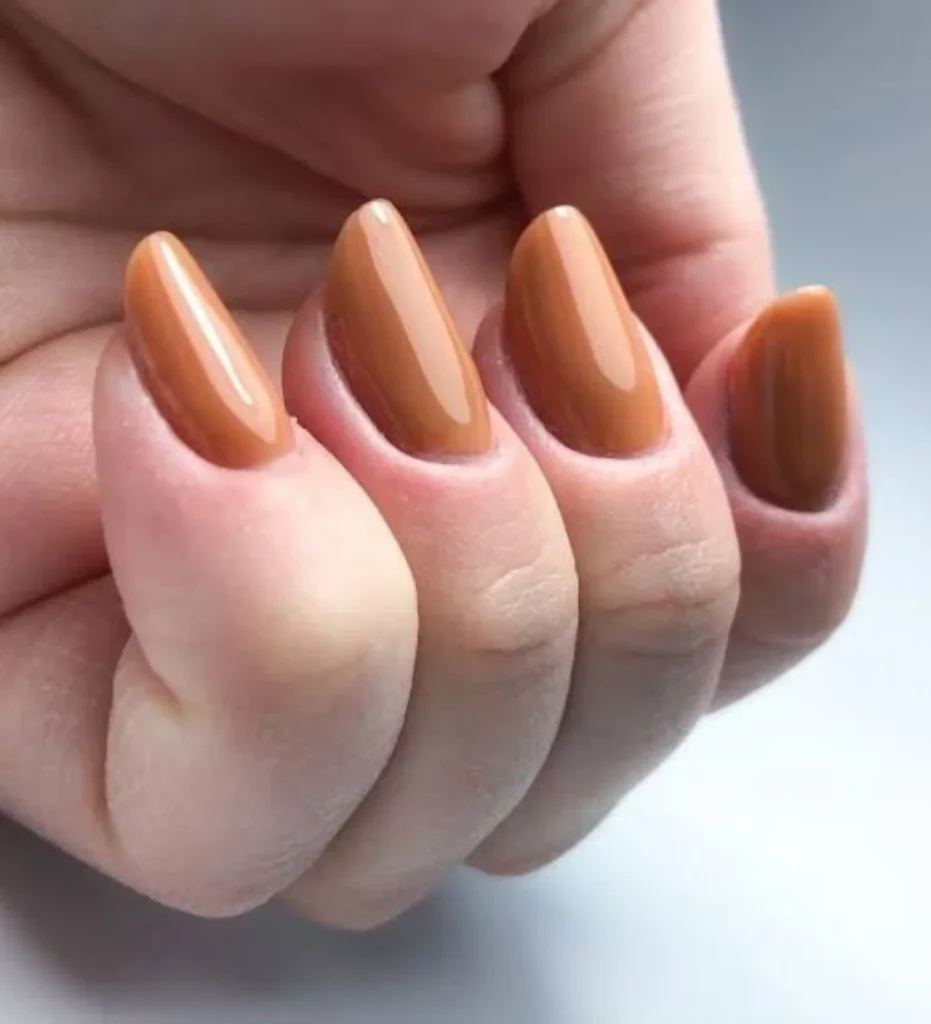
Fall is all about rich, earthy tones that mirror the changing leaves. Opt for deep reds, warm oranges, and rustic browns to capture the essence of the season.
Applying:
Apply a base coat and choose your preferred deep fall color. Use a thin nail brush for intricate designs like leaves or abstract patterns.
2. Jewel Tones with a Twist
Elevate your fall nails with jewel-toned shades like emerald green, sapphire blue, and amethyst purple. Add a touch of shimmer for an extra sparkle.
Applying:
Apply a base coat and layer jewel-toned polish. Use a fine-tipped brush to create delicate lines or geometric shapes.
3. Monochromatic Minimalism

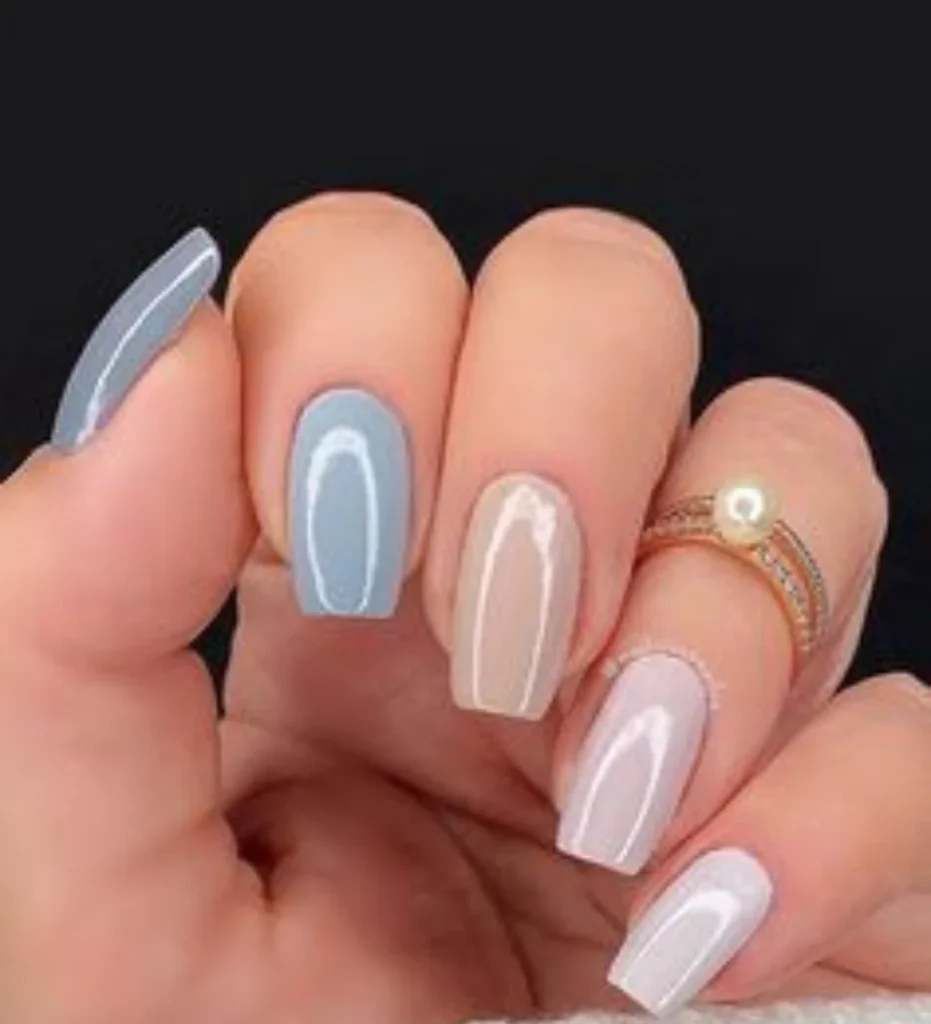
Embrace simplicity with monochromatic nail designs. Shades of taupe, nude, or gray can create elegant and understated looks that match any fall outfit.
Applying:
Apply a neutral base coat and let it dry. Use striping tape or nail stencils to create clean lines or negative space designs.
4. Metallic Accents
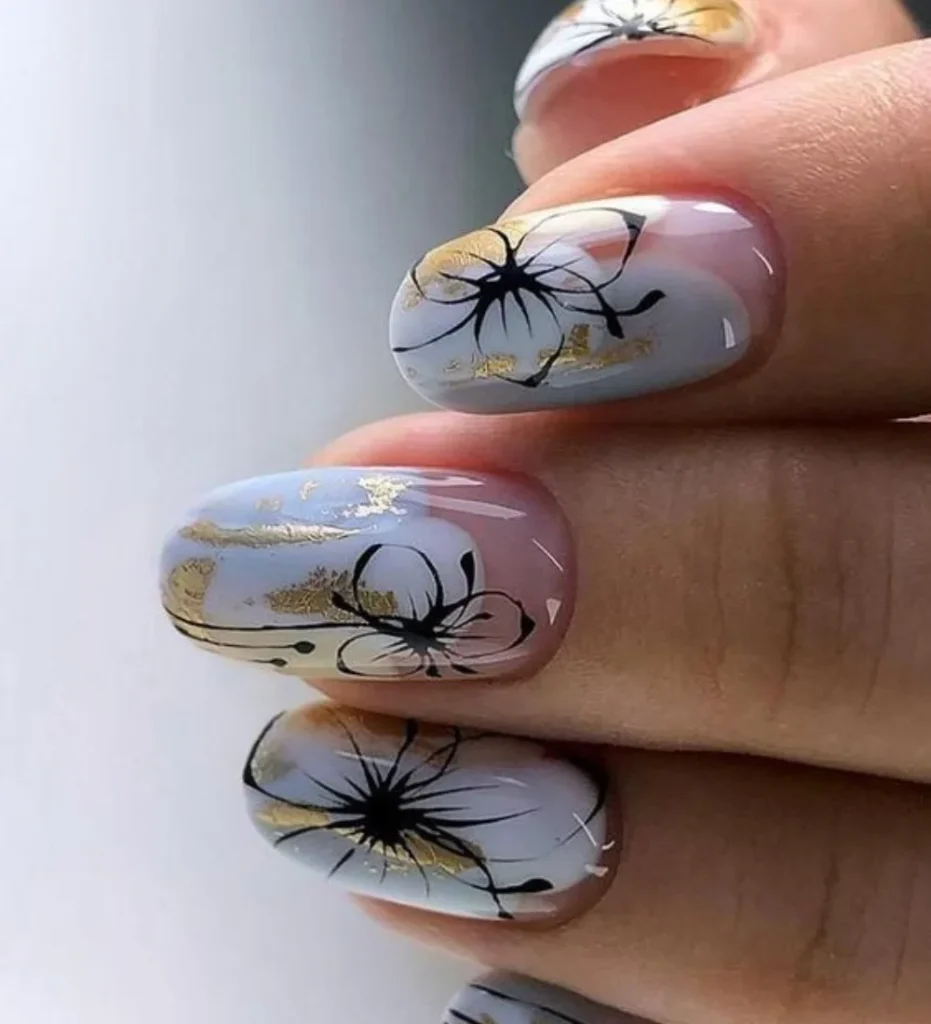
Infuse a bit of glam into your fall nail art by incorporating metallic accents. Gold, copper, and bronze details can instantly elevate your design.
Applying:
Apply a base color and let it dry. Use metallic nail polish or foil to add accents like stripes, dots, or swirls.
5. Gradient Magic
Experiment with gradient nails using fall-inspired colors. Blend shades seamlessly to achieve an ombre effect that’s reminiscent of a sunset sky.
Applying:
Choose 3-4 fall shades from the same color family. Apply the lightest shade as the base, then use a makeup sponge to dab and blend the colors for a gradient effect.
Step-by-Step Guide to Achieving Gorgeous Fall Nail Designs

1. Prep and Prime Your Nails
Start with clean, dry nails. Trim, shape, and buff your nails for a smooth canvas. Apply a base coat to protect your nails and prevent staining.
Tips:
Trim cuticles, file nails, and apply a clear base coat to prevent chipping and staining.
2. Adding the Base Color
Choose your base fall nail color and apply two thin coats for an even finish. Allow each coat to dry completely before proceeding.
Tips:
Choose a fall color that complements your design. Apply two thin coats, allowing each coat to dry fully.
3. Creating Nail Art Masterpieces

Use nail brushes, dotting tools, and striping tape for intricate designs. Experiment with geometric patterns, autumn leaves, or simple dots.
Tips:
Use fine brushes or tools to create intricate designs. Practice on paper before attempting detailed designs.
4. Sealing the Artwork
Once your nail art is dry, apply a top coat to seal and protect the design. This step enhances the longevity of your fall nail art.
Tips:
Apply a clear top coat to protect the nail art. Use a light touch to avoid smudging your design.
5. Moisturize and Maintain
After your top coat dries, apply cuticle oil to moisturize the skin around your nails. This prevents dryness and maintains the overall health of your nails.
Tips:
Moisturize and Maintain: Apply cuticle oil to keep nails and skin hydrated. Avoid harsh soaps and moisturize regularly for healthy nails.
Nail Care Tips to Maintain Your Autumn-Inspired Nails

1. Be Gentle on Your Nails
Avoid using your nails as tools for opening packages or scratching. This prevents chips and maintains the integrity of your fall nail art.
Uses:
Treat your nails with care to prevent chips and maintain the longevity of your nail art.
2. Wear Gloves for Protection
When doing household chores or gardening, wear gloves to protect your nails from dirt, chemicals, and water exposure.
Uses:
Shield your nails from potential damage by wearing gloves during tasks that expose your hands to harsh substances.
3. Touch-Up as Needed
Keep your fall nail design looking fresh by fixing any minor chips with a matching nail polish. Apply a thin layer and seal with a top coat.
Uses:
Fix minor chips or wear and tear by applying a small amount of nail polish and a top coat to extend the life of your design.
4. Hydrate Your Nails and Cuticles

Apply cuticle oil daily and use a nourishing hand cream to prevent dryness and promote healthy nail growth.
Uses:
Moisturize daily to prevent dryness and promote healthy nail growth. Healthy cuticles contribute to strong nails.
5. Limit Exposure to Harsh Chemicals
Exposure to harsh cleaning agents or acetone-based removers can weaken your nails. Opt for gentle, acetone-free removers and minimize contact with chemicals.
Uses:
Harsh chemicals can weaken your nails and dull your nail art. Choose gentle products to protect your design.
Experimenting with Nail Art Accessories for a Unique Look

Rhinestones and Studs: Add a touch of glamour to your fall nails with rhinestones or studs. Apply them while your top coat is still wet and seal with an extra layer.
Apply rhinestones or studs while your top coat is still wet. Use tweezers for precision and seal with an extra layer of top coat.
Fall-Inspired Stamping Plates: Invest in fall-themed stamping plates for quick and intricate designs. Apply a fall color to the plate, scrape off the excess, and transfer the design to your nails.
Apply a fall color to the stamping plate, transfer the design, and seal with a top coat for a detailed and unique look.
Foil Accents: Experiment with foil accents for a metallic and reflective appearance. Apply foil adhesive, wait for it to turn tacky, then press the foil onto your nails.
Apply foil adhesive, let it become tacky, then press the foil onto your nails. Experiment with various patterns and colors.
Negative Space Elegance: Create negative space designs by leaving certain areas of your nails unpainted. Combine fall colors with bare nails for a chic and minimalist look.
Use striping tape or nail stencils to create negative space designs. Combine bare nails with fall colors for an elegant touch.
3D Embellishments: Explore 3D nail art elements like tiny acorns, leaves, or miniature pumpkins. Attach them using nail glue and seal with a top coat.
Attach 3D elements using nail glue. Choose small, lightweight items that won’t affect the durability of your fall nail art.

