Lipstick is a timeless beauty product that has been a staple in makeup routines for centuries. It has the power to transform your look, boost your confidence, and add a pop of color to your face. However, achieving the perfect lipstick application can be a bit tricky, especially for those who are new to makeup or looking to refine their skills. In this ultimate guide, we will walk you through everything you need to know about applying lipstick, from choosing the right shade to mastering the application techniques. Whether you’re a makeup novice or a seasoned pro, these tips, tricks, and expert advice will help you achieve flawless lipstick looks every time.
1: Finding Your Perfect Lipstick Shade
The first step to achieving a stunning lipstick look is selecting the right shade. With countless lipstick colors available, it’s essential to find one that complements your skin tone, enhances your features, and suits the occasion. Here’s how to do it:
1.1 Determine Your Skin Undertone
Your skin undertone plays a crucial role in choosing the perfect lipstick shade. There are three main undertones: warm, cool, and neutral.
- Warm Undertone: If you have warm undertones, shades like corals, oranges, warm pinks, and reds with orange or yellow undertones will flatter your complexion.
- Cool Undertone: Individuals with cool undertones should opt for lipsticks with blue or purple undertones, such as berry shades, cool pinks, and classic reds.
- Neutral Undertone: Lucky enough to have a neutral undertone? You can pull off a wide range of lipstick shades, from nudes to brights, without worrying too much about undertones.
1.2 Consider the Occasion
The occasion can influence your lipstick choice. For daytime or casual events, opt for neutral or soft shades like nude, light pink, or peach. For more formal or evening events, bold and vibrant shades like deep red, plum, or burgundy can make a statement.
1.3 Test Before You Buy
Before committing to a lipstick shade, always try it on. Many makeup stores have testers, and if you’re shopping online, look for swatches on various skin tones to get a better idea of how the color will look on you.
2: Preparing Your Lips
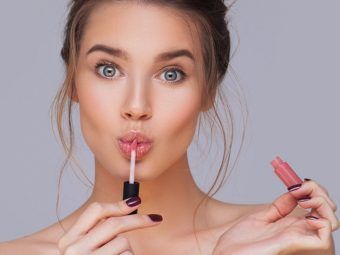
Achieving a flawless lipstick application starts with prepping your lips. Dry, chapped lips can ruin the look and feel of your lipstick, so follow these steps to ensure your lips are ready for color.
2.1 Exfoliation
Use a lip scrub or a homemade mixture of sugar and honey to exfoliate your lips. Gently massage the scrub onto your lips to remove dead skin cells and create a smooth canvas for your lipstick.
2.2 Moisturize
Apply a lip balm to keep your lips hydrated and prevent them from drying out. Wait a few minutes to allow the balm to absorb into your lips fully.
2.3 Primer
Consider using a lip primer to create a smooth and even base for your lipstick. Lip primers also help to improve the longevity of your lipstick.
2.4 Concealer
For a clean and precise look, apply a bit of concealer around your lips. This helps define the lip shape and prevents lipstick from feathering or bleeding.
3: Choosing the Right Lipstick Formula
Lipsticks come in various formulas, and the one you choose depends on your personal preferences and the look you want to achieve. Here are some common lipstick formulas and their characteristics:
3.1 Matte Lipstick
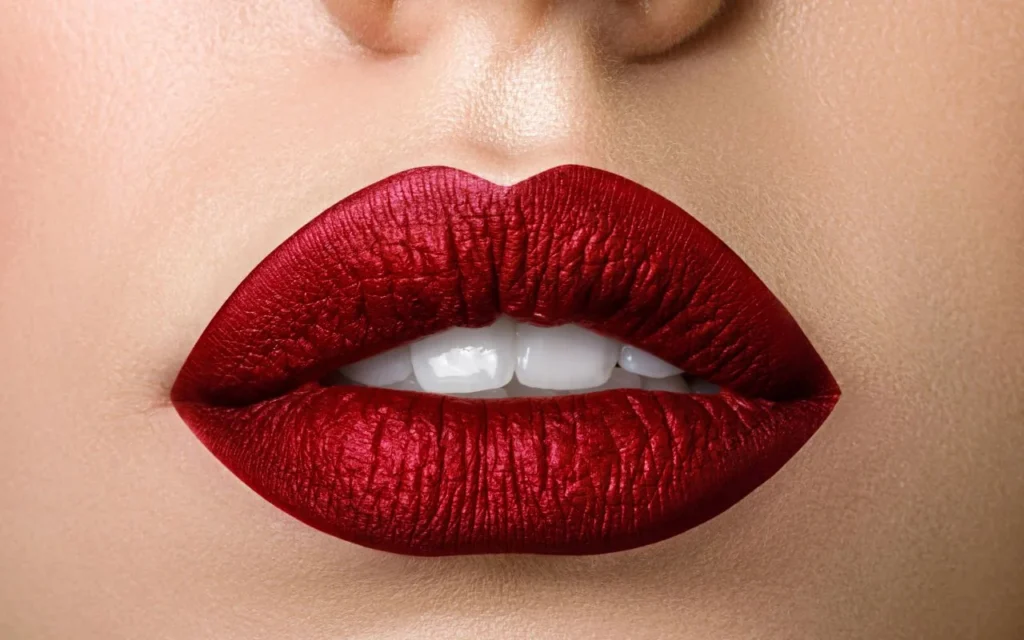
Matte lipsticks are known for their long-lasting and highly pigmented finish. They have no shine or gloss and provide a velvety, flat look. Matte lipsticks are excellent for a bold and sophisticated appearance, but they can be drying on the lips.
3.2 Cream Lipstick
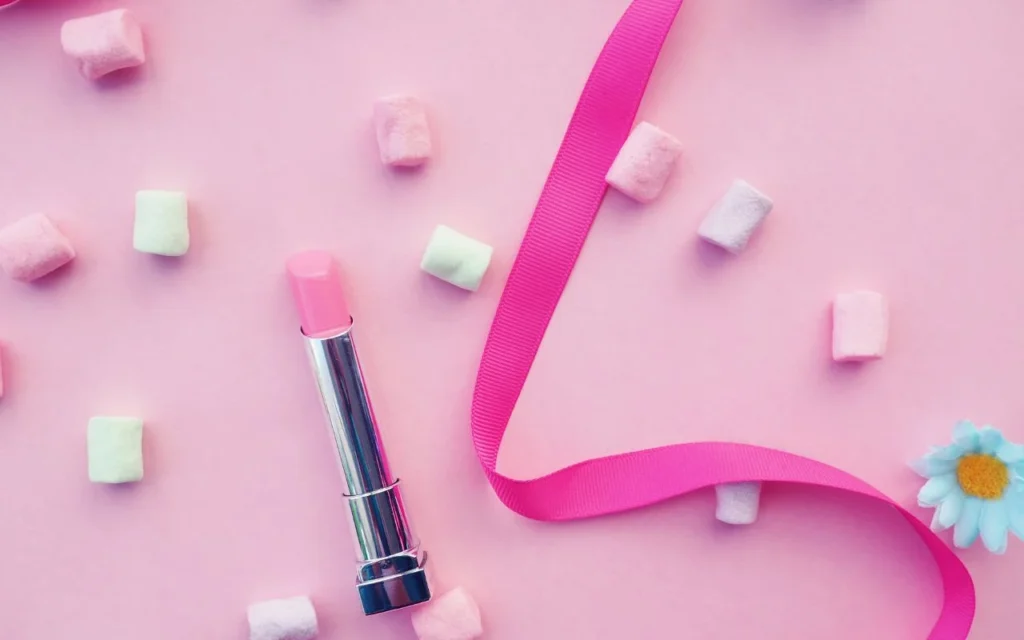
Cream lipsticks offer a balance between moisture and color. They provide a smooth and creamy texture with a slight sheen. Cream lipsticks are comfortable to wear and work well for everyday looks.
3.3 Satin Lipstick
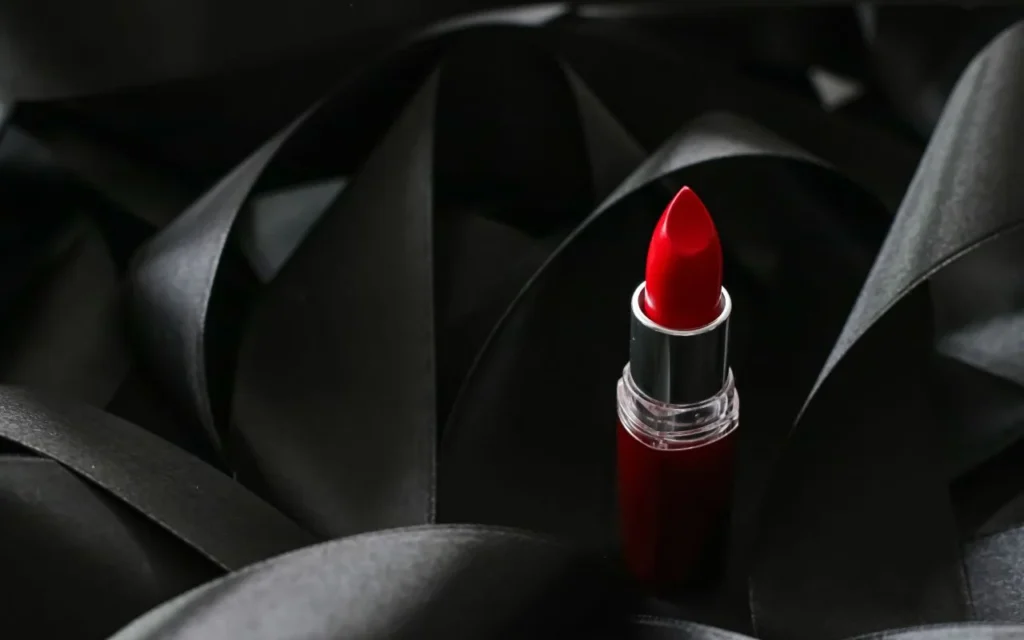
Satin lipsticks offer a soft and subtle shine while delivering rich color. They are less matte than matte lipsticks but not as glossy as liquid lipsticks. Satin lipsticks are versatile and suitable for various occasions.
3.4 Liquid Lipstick
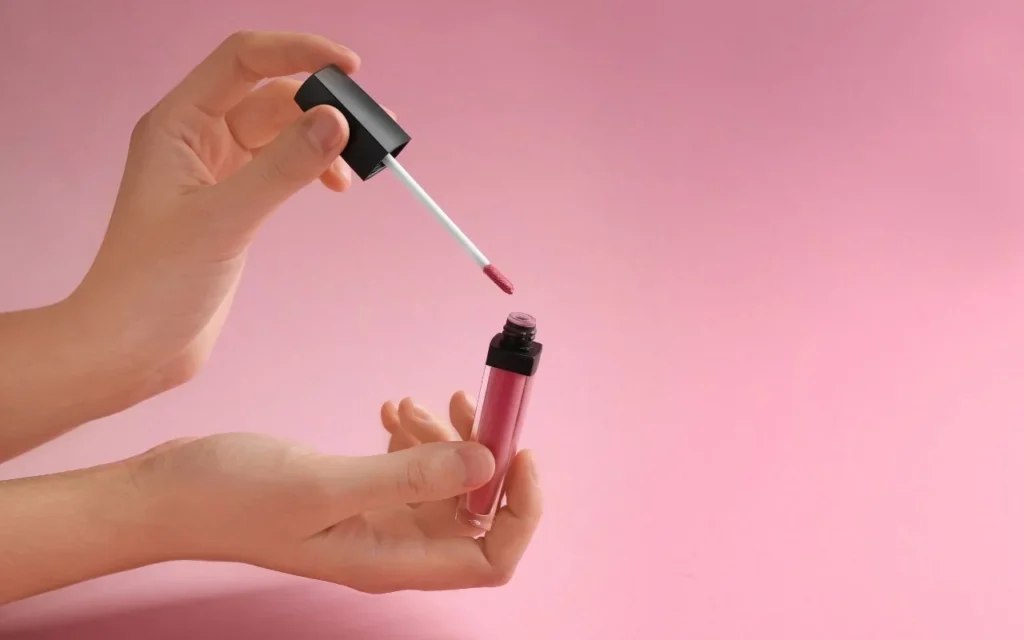
Liquid lipsticks are highly pigmented and provide a long-lasting, matte finish. They are known for their intense color payoff and are ideal for special events or when you need your lipstick to stay put for hours.
3.5 Sheer Lipstick
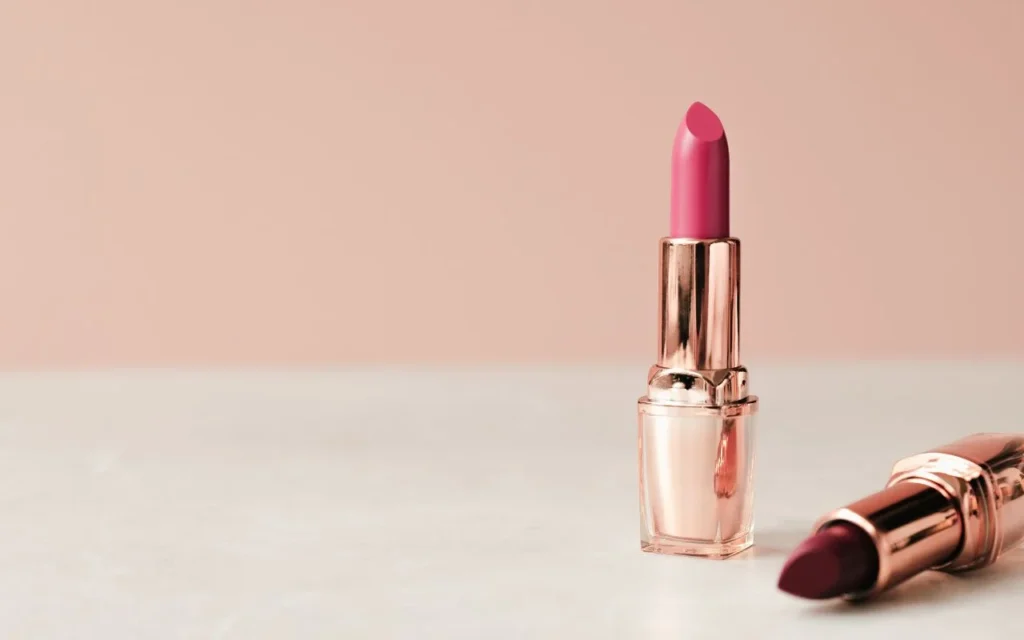
Sheer lipsticks offer a lightweight, translucent color that allows your natural lip color to show through. They provide a more natural look and are perfect for a minimalistic or no-makeup makeup appearance.
4: Applying Lip Liner
Lip liner is a makeup artist’s secret weapon for achieving perfectly defined lips. Here’s how to use it effectively:
4.1 Choose the Right Shade
Select a lip liner shade that matches your lipstick or is slightly darker. Avoid using a liner that is much darker than your lipstick, as it can create a harsh contrast.
4.2 Outline Your Lips
Start by outlining your lips along the natural lip line. Use short, light strokes to create a precise line. Begin with your cupid’s bow and then move to the corners of your mouth.
4.3 Fill In Your Lips
After outlining, gently fill in your lips with the lip liner. This step helps create a base for your lipstick and improves its staying power.
4.4 Blend the Edges
To avoid a harsh line, use a lip brush or your fingertip to blend the lip liner into your lips. This creates a seamless transition between the liner and lipstick.
5: Applying Lipstick Like a Pro
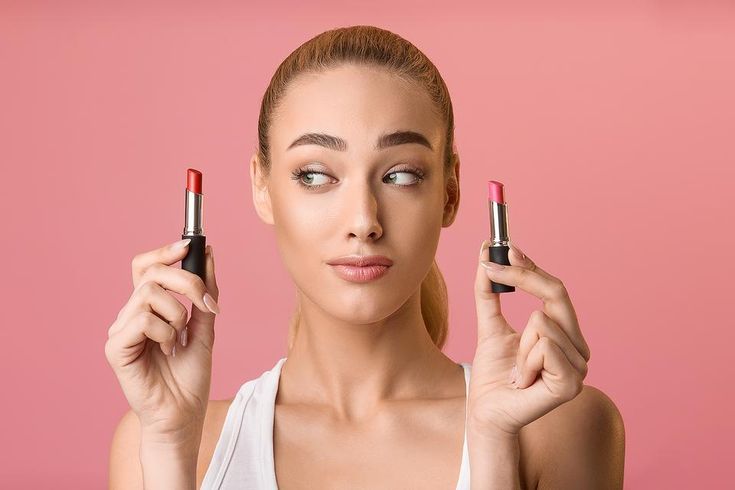
Now that your lips are prepped, and your lip liner is in place, it’s time to apply your lipstick. Follow these expert techniques for a flawless finish:
5.1 Using a Lip Brush
For precise application, use a lip brush. Dip the brush into the lipstick and start at the center of your lips, working your way towards the corners. A lip brush allows you to control the amount of product applied and ensures even coverage.
5.2 Direct Application
If you prefer applying lipstick directly from the tube, start by placing the lipstick at the center of your upper lip and follow the natural curve of your cupid’s bow. Then, apply to the bottom lip, moving from the center towards the corners.
5.3 Blot and Reapply
To enhance the longevity of your lipstick, blot your lips with a tissue after the initial application. Then, reapply another layer of lipstick for a more saturated look.
5.4 Avoid Overapplication
Avoid overapplying lipstick, as it can lead to clumping or smudging. Start with a thin layer and build up the color as needed.
6: Perfecting Your Lipstick Look
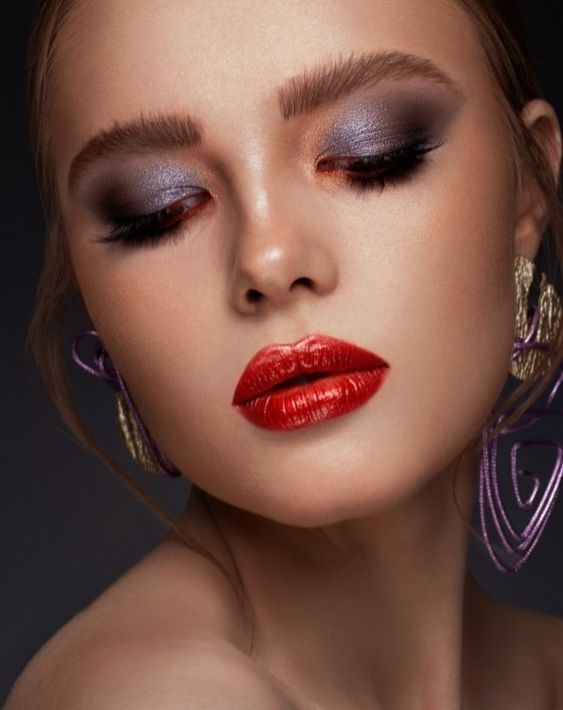
Achieving a flawless lipstick look involves more than just applying the product. Here are some additional tips and tricks to perfect your lip game:
6.1 Clean Up Any Mistakes
To clean up any lipstick smudges or mistakes, dip a small concealer brush in some concealer and carefully trace the edges of your lips. This creates crisp lines and sharpens your lip shape.
6.2 Prevent Feathering
To prevent your lipstick from feathering or bleeding, use a clear lip liner or a lip primer around the edges of your lips. This creates a barrier that keeps the color in place.
6.3 Add Dimension
For a more three-dimensional look, apply a touch of highlighter or a lighter shade of lipstick to the center of your lips. This adds depth and makes your lips appear fuller.
6.4 Lip Gloss for Shine
If you want a glossy finish, apply a clear lip gloss or a shade that complements your lipstick on top. Be mindful of overdoing it, as too much gloss can make your lips feel sticky.
7: Long-Lasting Lipstick Tips
Everyone wants their lipstick to last as long as possible. Here are some tips to extend the longevity of your lipstick:
7.1 Set with Translucent Powder
After applying your lipstick, place a tissue over your lips and lightly dust translucent powder through the tissue. This sets the lipstick in place and reduces transfer.
7.2 Use a Lip Sealer
Consider using a lip sealer or setting spray specifically designed for lips. These products create a protective barrier that helps lock in your lipstick color.
7.3 Touch Up Throughout the Day
Carry your lipstick and lip liner with you for touch-ups, especially after meals or drinks. A quick touch-up can refresh your look and keep your lips looking perfect.
8: Removing Lipstick Properly
At the end of the day, it’s essential to remove your lipstick properly to avoid staining or drying out your lips. Here’s how to do it:
8.1 Lip Makeup Remover
Invest in a good lip makeup remover or micellar water. Apply it to a cotton pad and gently press it onto your lips, allowing the product to dissolve the lipstick.
8.2 Gentle Exfoliation
After removing your lipstick, use a soft toothbrush or a dedicated lip scrub to exfoliate your lips gently. This helps get rid of any remaining pigment and leaves your lips soft and smooth.
8.3 Hydrate
Finish by applying a nourishing lip balm to keep your lips moisturized overnight. This step is crucial, especially if you’ve been wearing matte or long-wear lipsticks.
9: Exploring Lipstick Trends
Lipstick trends are constantly evolving, and it’s fun to experiment with new looks. Here are a few lipstick trends that have gained popularity in recent years:
9.1 Ombré Lips
Ombré lips involve using two or more lipstick shades to create a gradient effect. Start with a darker shade on the outer edges of your lips and blend it into a lighter shade towards the center.
9.2 Metallic Lips
Metallic lipsticks have a shimmery or metallic finish. They add a futuristic and edgy twist to your makeup look and are perfect for parties or creative photo shoots.
9.3 Monochromatic Lips
The monochromatic trend involves matching your lipstick shade to your eyeshadow or blush. This cohesive look is elegant and easy to achieve.
9.4 Neon Lips
Bold and daring, neon lipsticks have gained popularity for those who want to make a statement. Neon shades like electric pink, lime green, and neon orange can be a lot of fun to wear.
10: Lipstick for All Ages
Lipstick is timeless and can be worn at any age. Here are some age-appropriate tips for choosing and applying lipstick:
10.1 Teens and Young Adults
For younger individuals, experiment with different shades and textures to find what you like. Bright and playful colors are perfect for this age group.
10.2 Adults
As you mature, opt for more subtle shades like soft pinks, mauves, and natural nudes. These colors enhance your natural beauty and can make you appear more youthful.
10.3 Seniors
For seniors, it’s essential to choose hydrating and anti-aging lip products. Lipstick with added moisturizers and anti-aging ingredients can help combat the effects of aging on the lips.
Conclusion
Lipstick is a versatile and powerful makeup product that allows you to express your creativity and enhance your beauty. By following the tips, tricks, and expert advice in this ultimate guide, you can confidently apply lipstick like a pro, choose the perfect shade, and keep your lipstick looking flawless all day long. Whether you’re a makeup enthusiast or just starting your lipstick journey, remember that practice makes perfect, so don’t be afraid to experiment and have fun with your lipstick looks. Your lips are your canvas, and the possibilities are endless.


2 Comments
Pingback: Embrace the Season: Lipstick Colors for Fall 2023 - glowravishing
Pingback: Lipstick Tips: Unveiling the Secrets to Perfect Lip Looks - glowravishing